
Create Your Own Lip Scrub at Home
AM
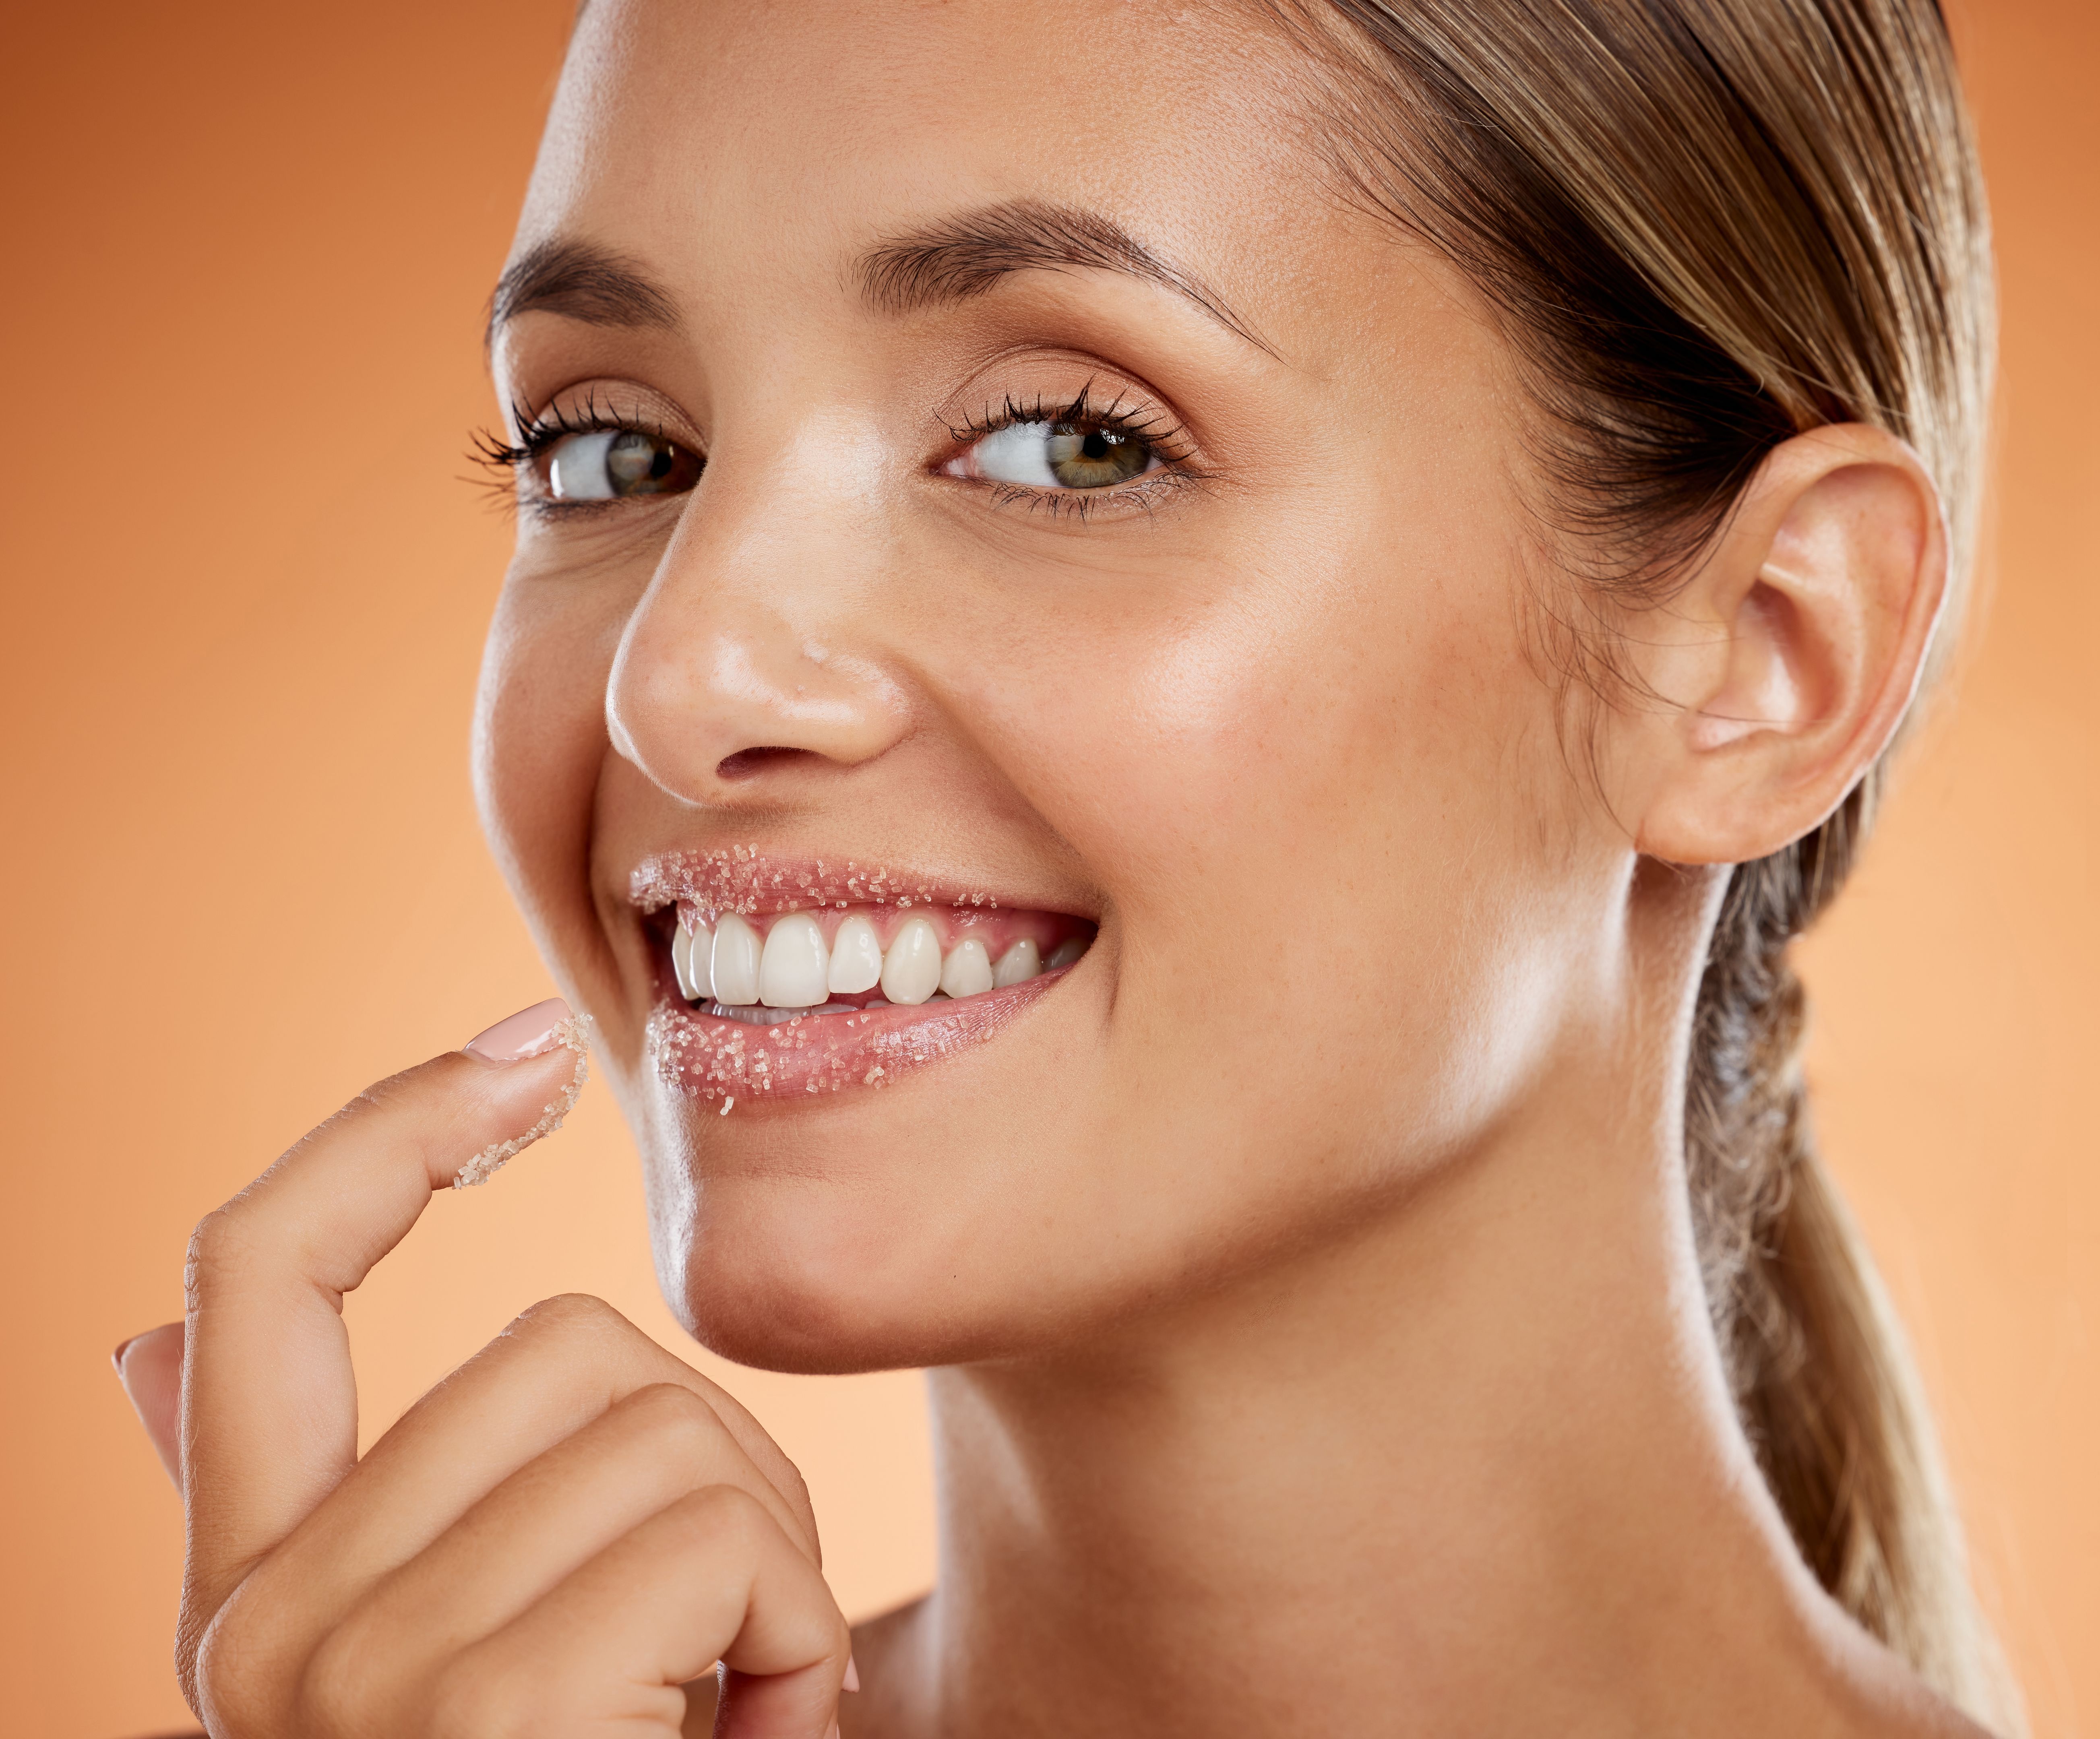
Why Use a Lip Scrub?
Our lips are one of the most delicate parts of our body, and they often face the brunt of weather changes, dehydration, and other external factors. Using a lip scrub helps to exfoliate dead skin cells, leaving your lips feeling soft, smooth, and rejuvenated. Regular exfoliation can also enhance the effectiveness of lip balms and other lip care products.
Another benefit of using a lip scrub is that it can help improve blood circulation in your lips, giving them a natural rosy tint. If you're dealing with chapped or flaky lips, incorporating a lip scrub into your beauty routine can make a noticeable difference.
Essential Ingredients for Your DIY Lip Scrub
Creating your own lip scrub at home is both fun and easy. Most recipes require just a few simple ingredients that you likely already have in your kitchen. The basic components you need are:
- Exfoliant: This can be sugar (either brown or white), which acts as the gentle abrasive to remove dead skin cells.
- Moisturizer: Common choices include coconut oil, olive oil, or honey, which help to hydrate and nourish your lips.
- Flavoring (optional): Vanilla extract or essential oils such as peppermint can add a pleasant scent and taste.
By mixing these ingredients, you create a customized lip product that caters to your personal preferences and needs.
Simple Steps to Make Your Lip Scrub
Creating a homemade lip scrub is straightforward. Here's a simple recipe you can try:
- In a small bowl, combine one tablespoon of sugar with one tablespoon of coconut oil or honey.
- Add a drop or two of vanilla extract or essential oil for fragrance.
- Mix the ingredients well until you achieve a uniform consistency.
Your lip scrub is now ready to use! Store it in a small container for easy access whenever your lips need some extra care.
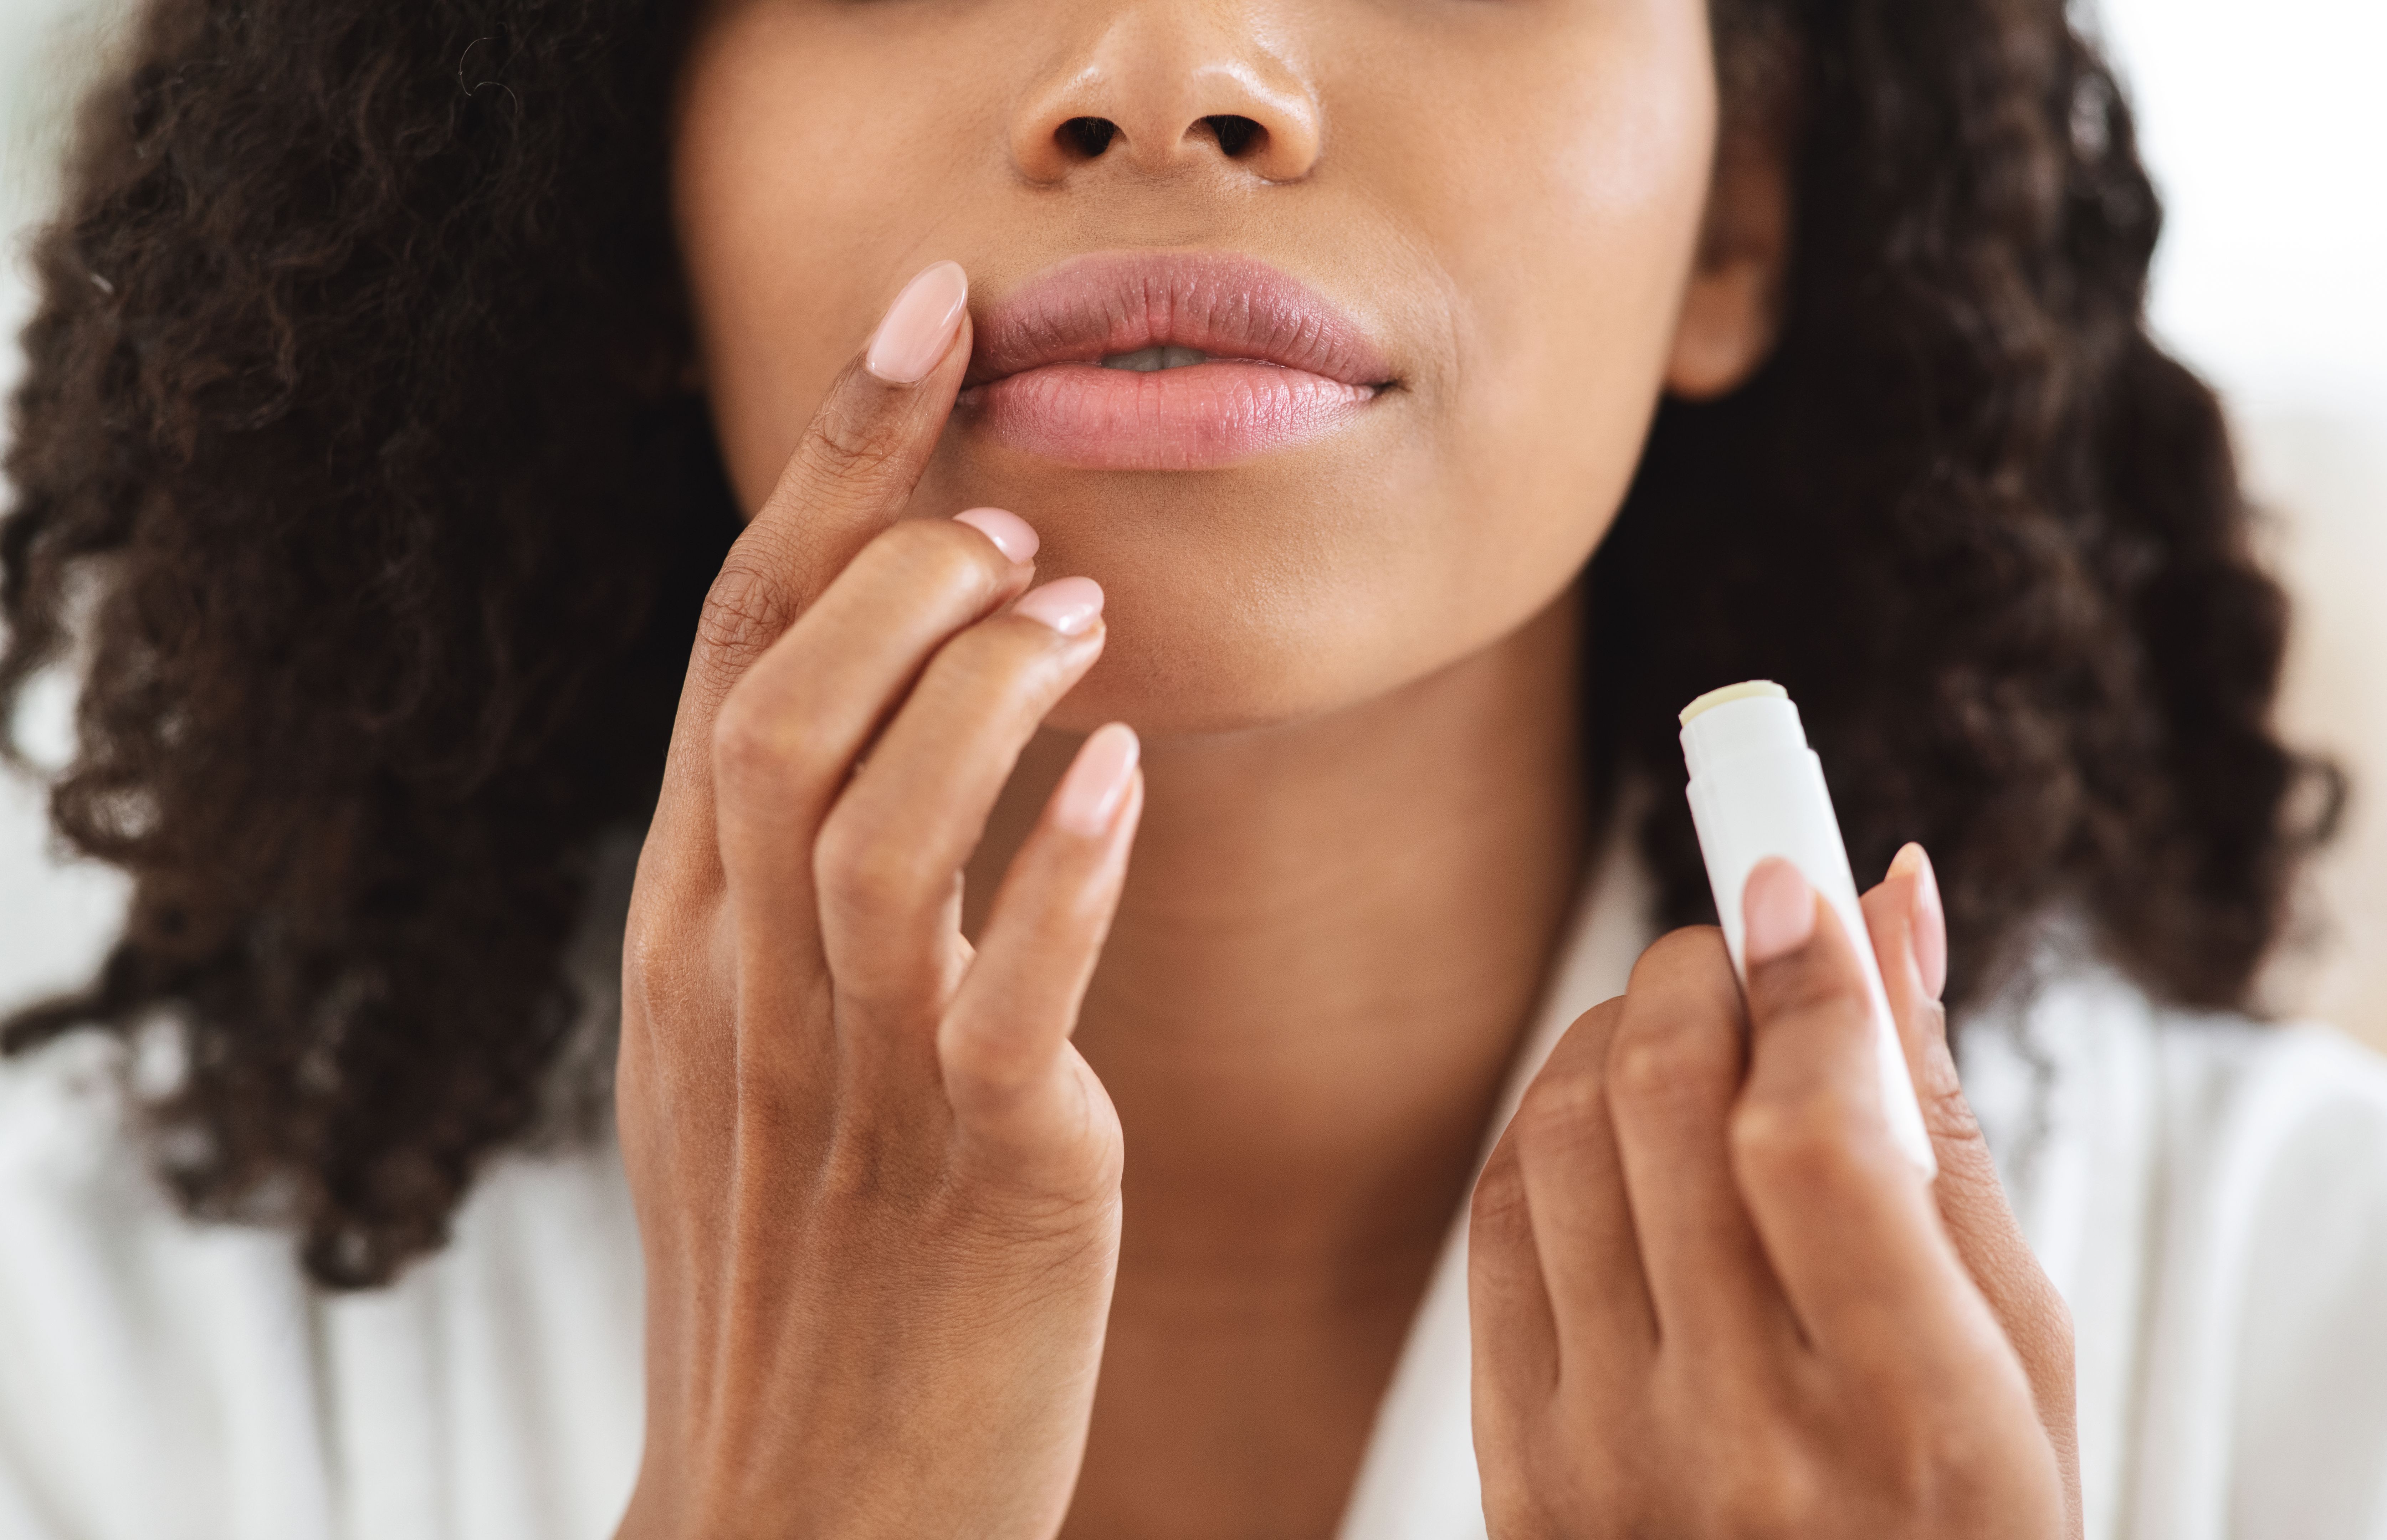
How to Use Your Lip Scrub
Once you've made your lip scrub, it's time to enjoy its benefits. Here are the steps to effectively use it:
- Apply a small amount of the scrub to your lips using a clean fingertip.
- Gently massage in circular motions for about one minute. This helps in removing dead skin cells.
- Rinse off with lukewarm water and pat dry with a soft towel.
- Follow up with your favorite lip balm to lock in moisture.
Customizing Your Lip Scrub
One of the best things about making your own lip scrub is the ability to customize it. You can experiment with different sugars, oils, and flavors to create a product that suits your taste. For instance, brown sugar offers a softer texture compared to white sugar, while almond oil provides a different moisturizing effect than coconut oil.
If you enjoy fruity scents, consider adding a few drops of strawberry or lemon essential oil. The possibilities are endless, allowing you to tailor your lip care routine to match your unique preferences.
Tips for Storing Your DIY Lip Scrub
Once you've created your perfect lip scrub, proper storage is key to maintaining its effectiveness. Store the scrub in an airtight container to prevent it from drying out. Keep it in a cool, dry place away from direct sunlight.
If you've used ingredients like coconut oil, which can melt at room temperature, consider storing the scrub in the refrigerator during warmer months. This will help maintain its consistency and extend its shelf life.

Conclusion: The Benefits of DIY Lip Care
Creating your own lip scrub at home offers numerous benefits, from cost savings to the satisfaction of using natural ingredients tailored to your needs. By incorporating this simple yet effective product into your beauty routine, you can achieve softer, healthier lips with minimal effort.
With just a few ingredients and a little creativity, you'll be well on your way to enjoying the luxurious feel of professionally treated lips—all from the comfort of your own home.